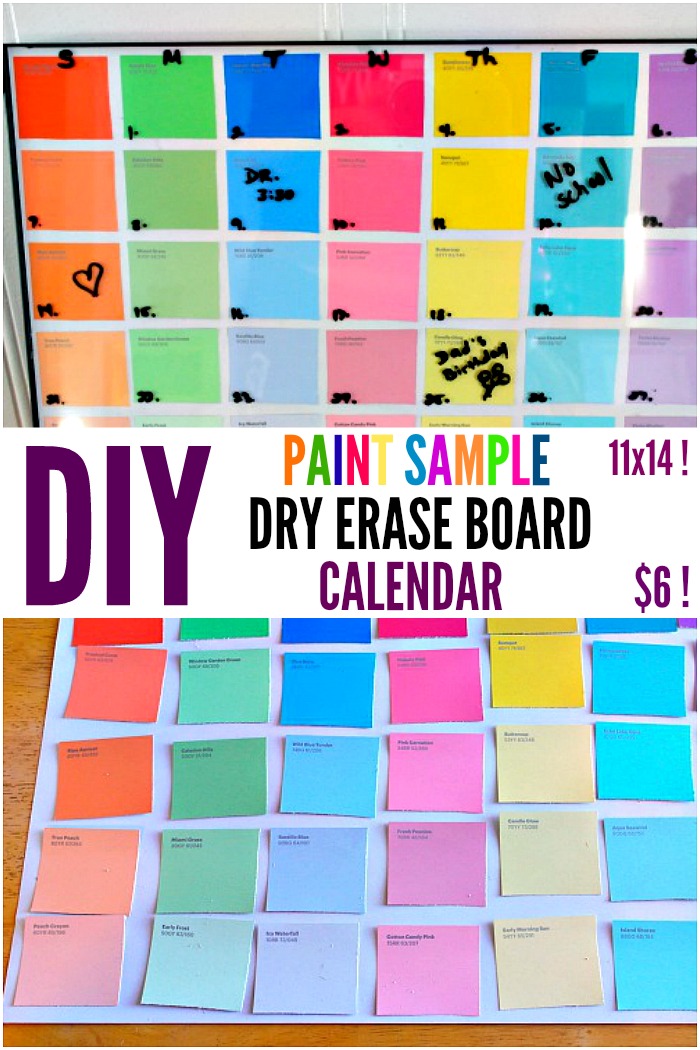
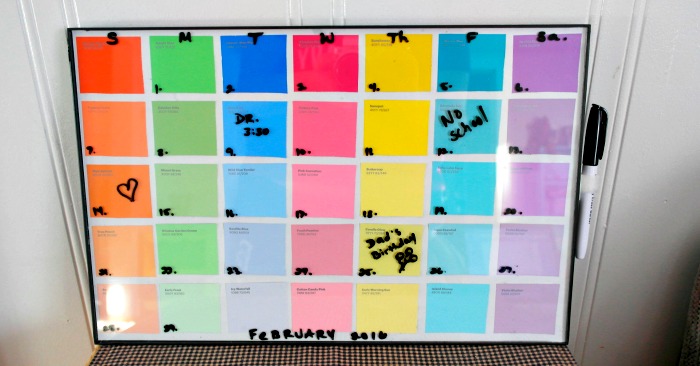
Don’t pay big bucks for a dry erase calendar at your local store. Make your own for less than $10 using paint chips, an old frame and some dry erase markers. This DIY dry erase calendar will look great in your home office or in your family command center.
// <![CDATA[
(function() { var _fbq = window._fbq || (window._fbq = []); if (!_fbq.loaded) { var fbds = document.createElement('script'); fbds.async = true; fbds.src = '//connect.facebook.net/en_US/fbds.js'; var s = document.getElementsByTagName('script')[0]; s.parentNode.insertBefore(fbds, s); _fbq.loaded = true; } })(); window._fbq = window._fbq || []; window._fbq.push(['track', '6027623420008', {'value':'0.00','currency':'USD'}]);
// ]]>
DIY Paint Sample Dry Erase Board Calendar
I love this project for two reasons, it saves me money AND it looks great in my office ! Instead of spending $12+ on a dry erase board I spent $6 to make this. Plus, it looks great. No paper calendar tacked up! This calendar uses a frame of your choice, so it will fit right in with your decor.
This post contains affiliate links.
Materials Needed:
- 1 photo frame 11 x 14
- 1 Dry erase marker
- small square of velcro
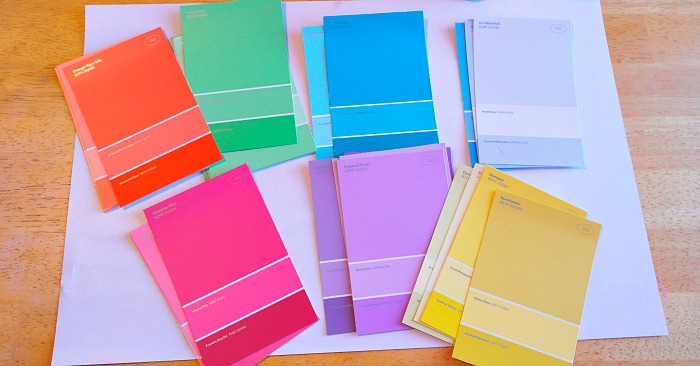
- paint sample strips or squares (strips are easier, or they have to be cut like I did!)
- glue
- scissors
How to Make a DIY Dry Erase Calendar:
Open the photo frame, remove the cardboard and paper advertisement. I use the paper for the backing, you can also use card stock or poster board. Glue the advertisement paper, white side up onto the cardboard backing of the photo frame. Allow to dry.
Cut the paint samples into small rectangles. Be sure to test one to make sure they will fit on your white paper 7 across and 5 down.
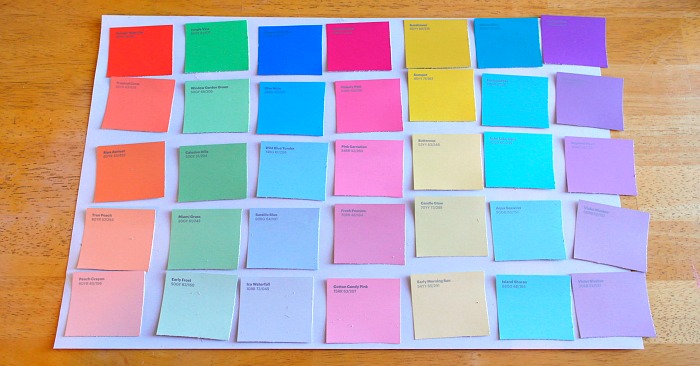
Once all the paint samples are cut, line them up in place and start gluing! Put a small amount of glue along the edges and in the middle otherwise they will curl up. Let this dry.
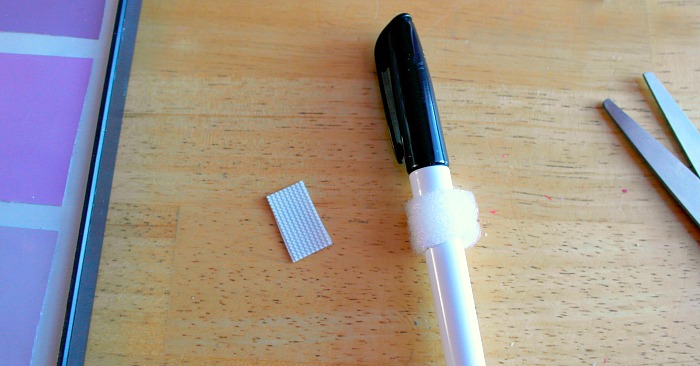
While the calendar is drying, cut a small strip of velcro. Wrap the velcro around your dry erase marker. Cut a second small square and stick it to the side of the photo frame.
Place the calendar into the photo frame, attach the back in place. Write out the month and all your important dates! Hang on the wall and prepare to be more organized!
Looking for more creative ways to use paint samples? See how to use them to teach your kids about word families!




0